This is for simple products with no sizing, colour etc options.
- Go to Products > Add Product. You then have a familiar interface and should immediately feel at home.
- Enter a product Title and Description.
- Go to the Product Data panel, and select downloadable (digital) or virtual (service) if applicable.
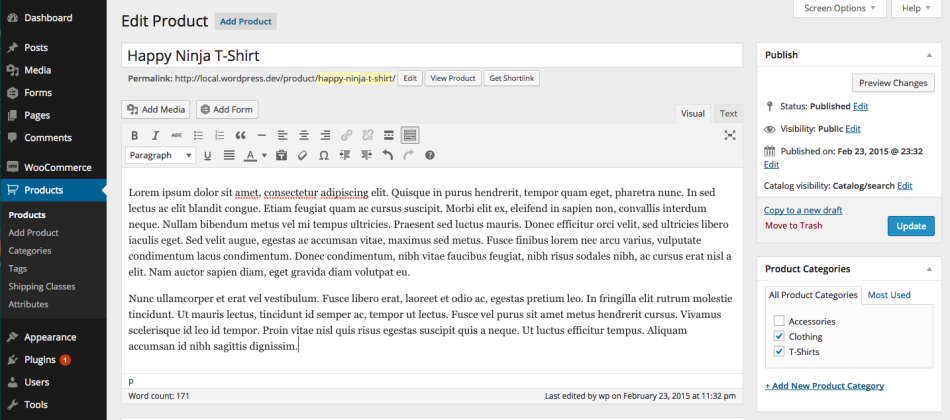
Note: Virtual products don’t require shipping — an order with virtual products won’t calculate shipping costs.
Product data
The Product Data meta box is where the majority of important data is added for your products.
 Product data is added in this panel
General section
- SKU – Stock keep unit (SKU) tracks products. Must be unique and should be formatted so it does not match any post IDs. For example, post IDs are numbers so a SKU could be WS01. That could stand for WooShirt 01.
- Price
- Regular Price – Item’s normal/regular price.
- Sale Price – Item’s discounted price that can then be scheduled for certain date ranges. The sale expires at 11:59pm of the specified end date.
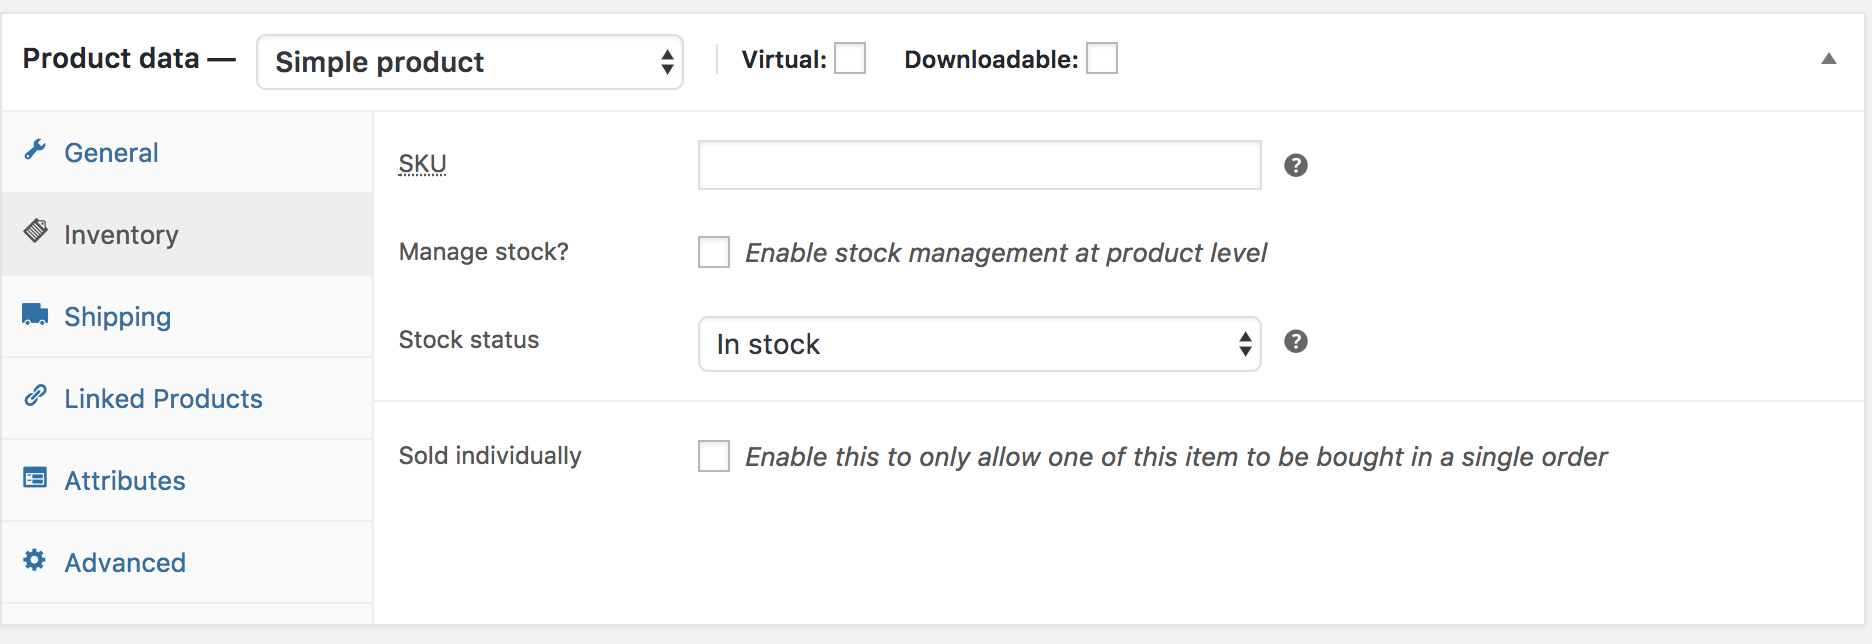
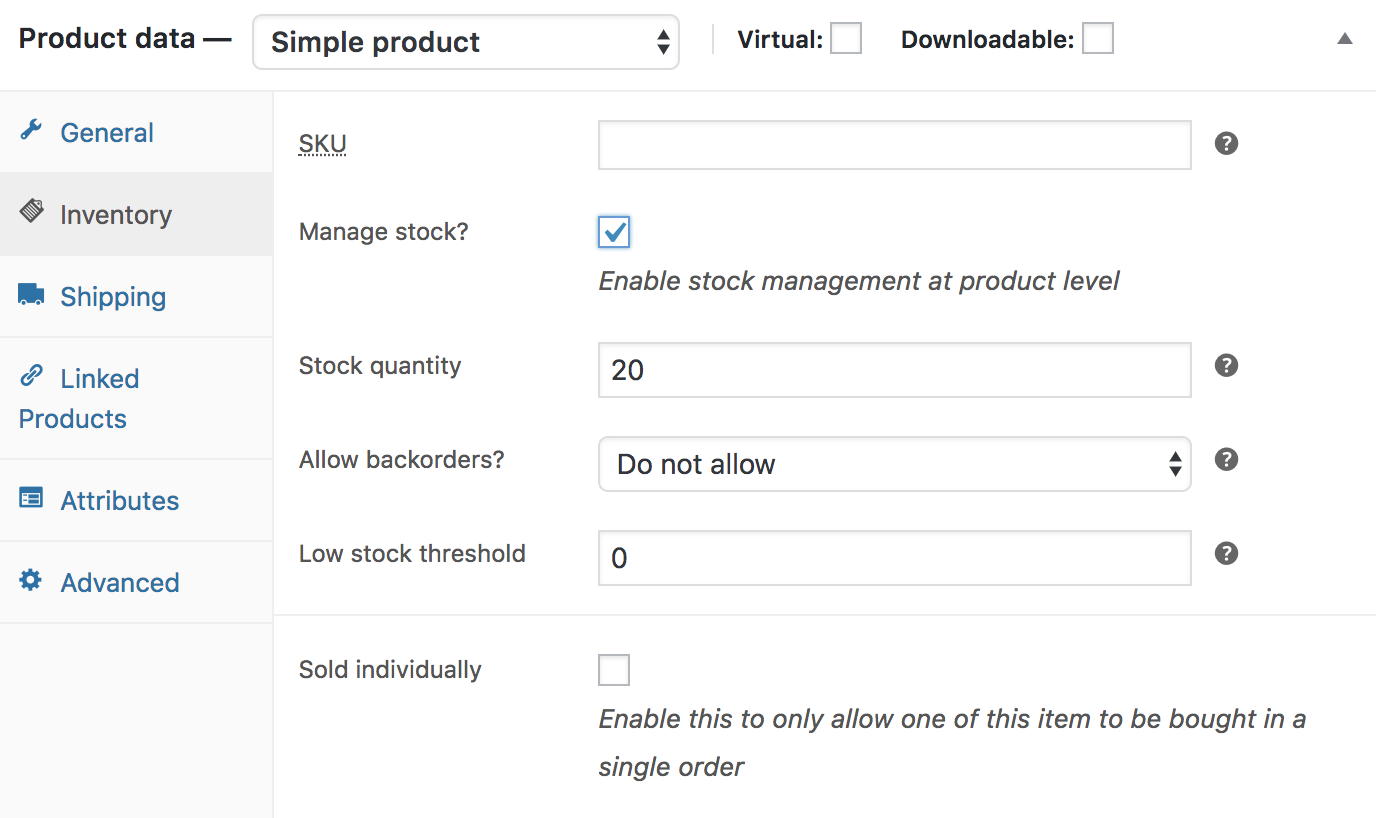
Inventory section
The inventory section allows you to manage stock for the product individually and define whether to allow back orders and more. It enables you to sell products and allow customers to add them to the cart to buy.
Enable Stock Management must be selected in Products Inventory Settings; otherwise, only the ‘Stock status’ option is visible in the Product Data Inventory box.
Options when stock management at product level is disabled. You are responsible for updating the Stock Status.
Options when stock management at product level is enabled.
- Enter the Stock Quantity, and WooCommerce auto-manages inventory and auto-updates
- Stock Status as Stock, Out of Stock or On Backorder.
- Select whether to Allow Backorders.
- Low stock threshold – Enter a number upon which you are notified.
- Tick the Sold Individually box to limit the product to one per order.
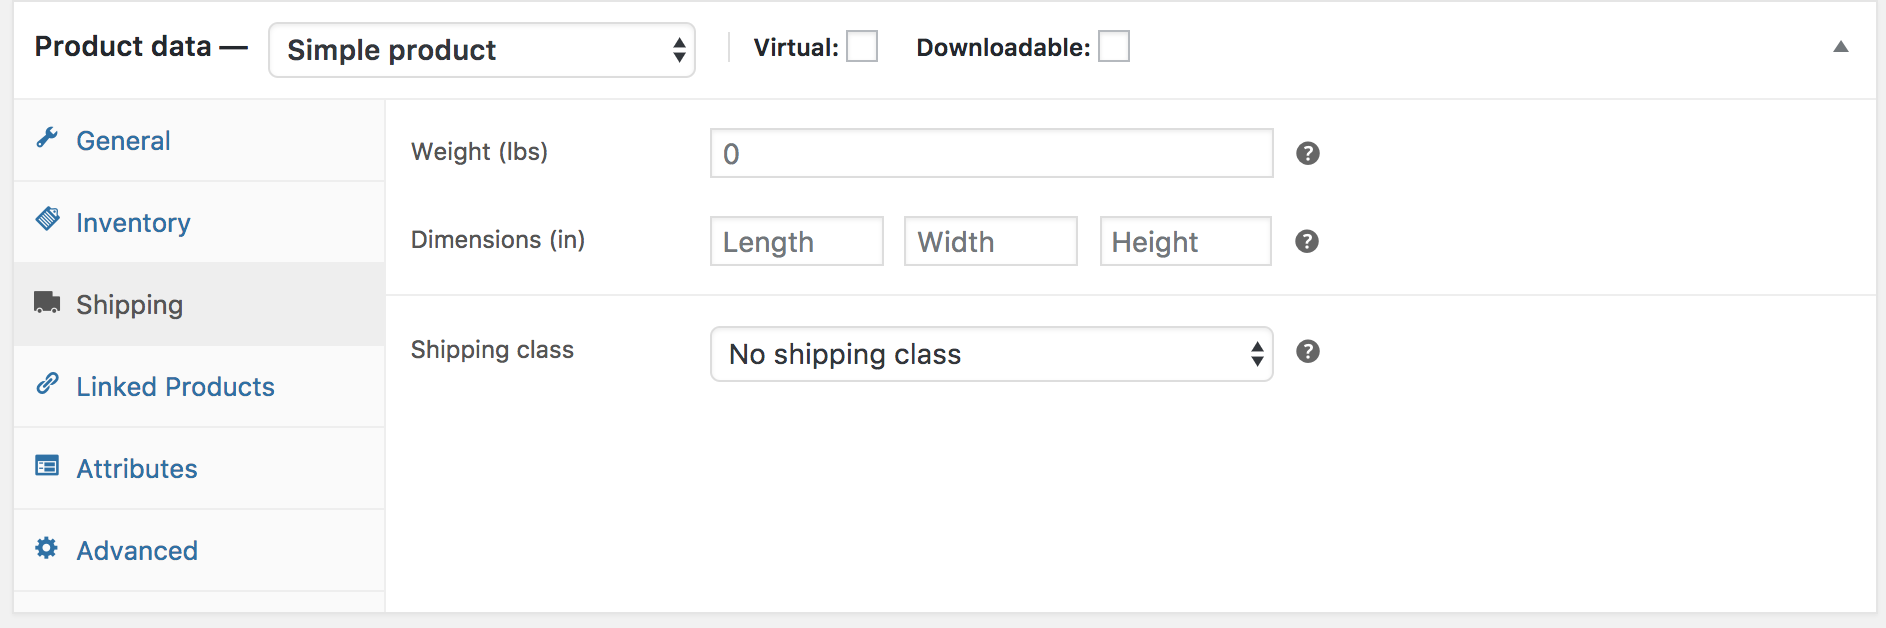
Shipping section
- Weight – Weight of the item.
- Dimensions – Length, width and height for the item.
- Shipping Class – Shipping classes are used by certain shipping methods to group similar products.
Linked Products section
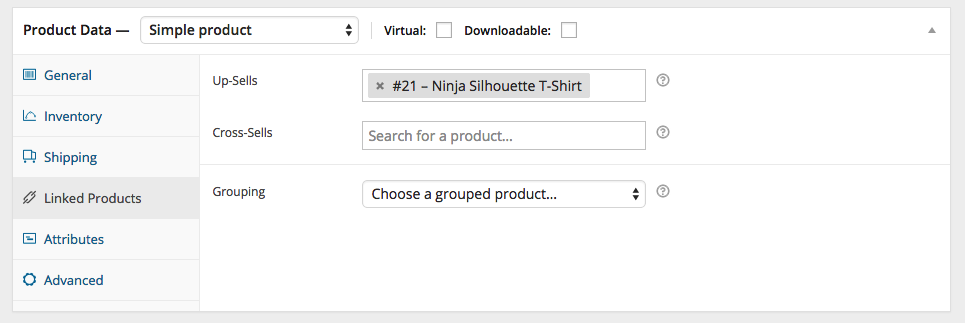
Using up-sells and cross-sells, you can cross promote your products. They can be added by searching for a particular product and selecting the product from the dropdown list:
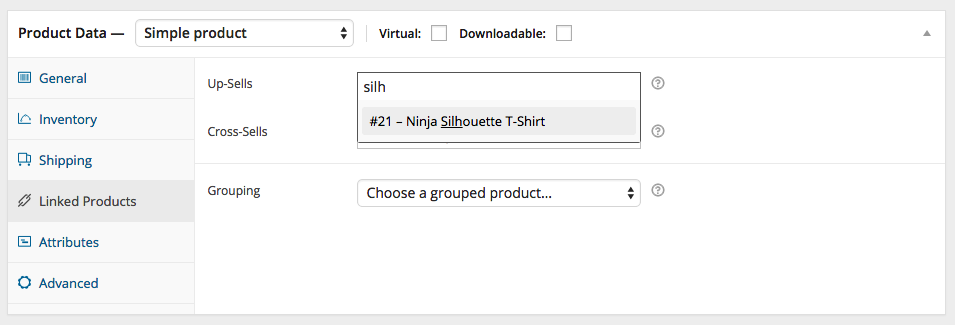
After adding, they are listed in the input field:
Advanced section
- Purchase note – Enter an optional note to send the customer after they purchase the product.
- Menu order – Custom ordering position for this item.
- Enable Reviews – Enable/Disable customers reviews for this item.
Product short description
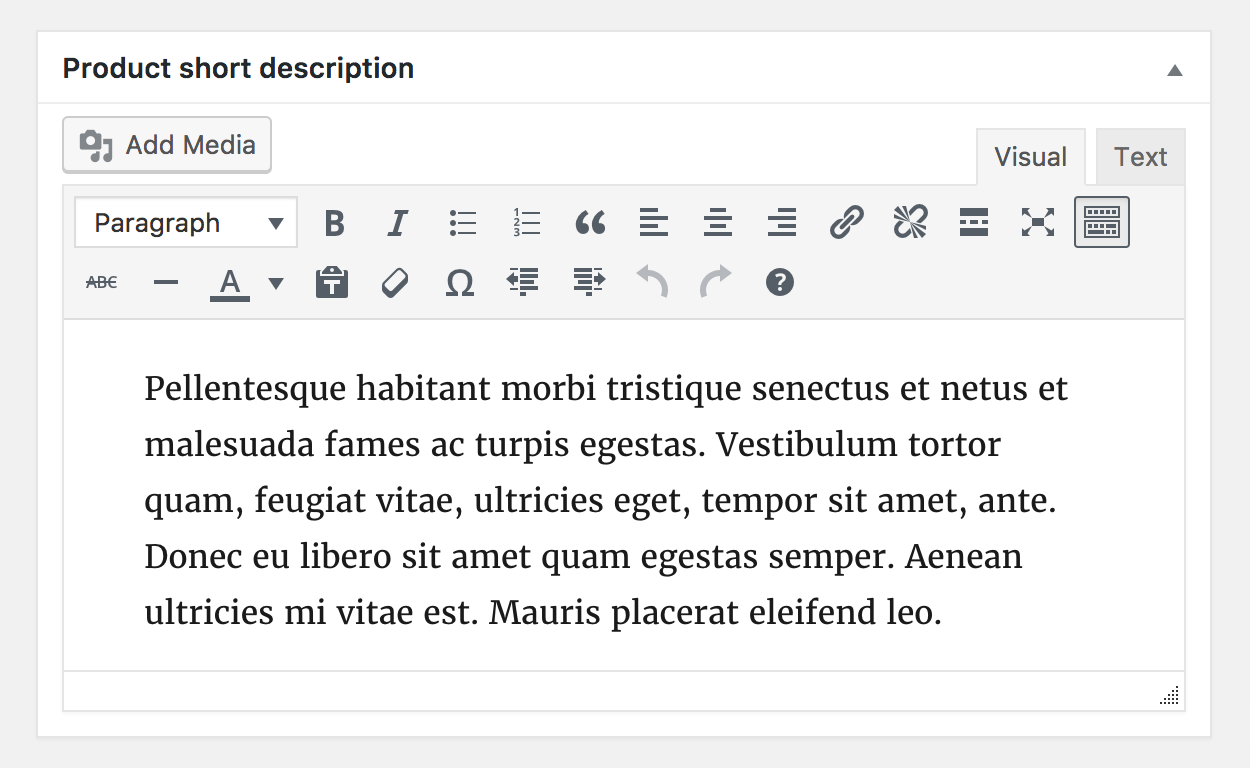
Add an excerpt. This typically appears next to product imagery on the listing page, and the long description appears in the Product Description tab.
Adding Product Images and Galleries
Adding product images and galleries are options available on the right-hand side when adding or editing a product in your store from WooCommerce > Products.
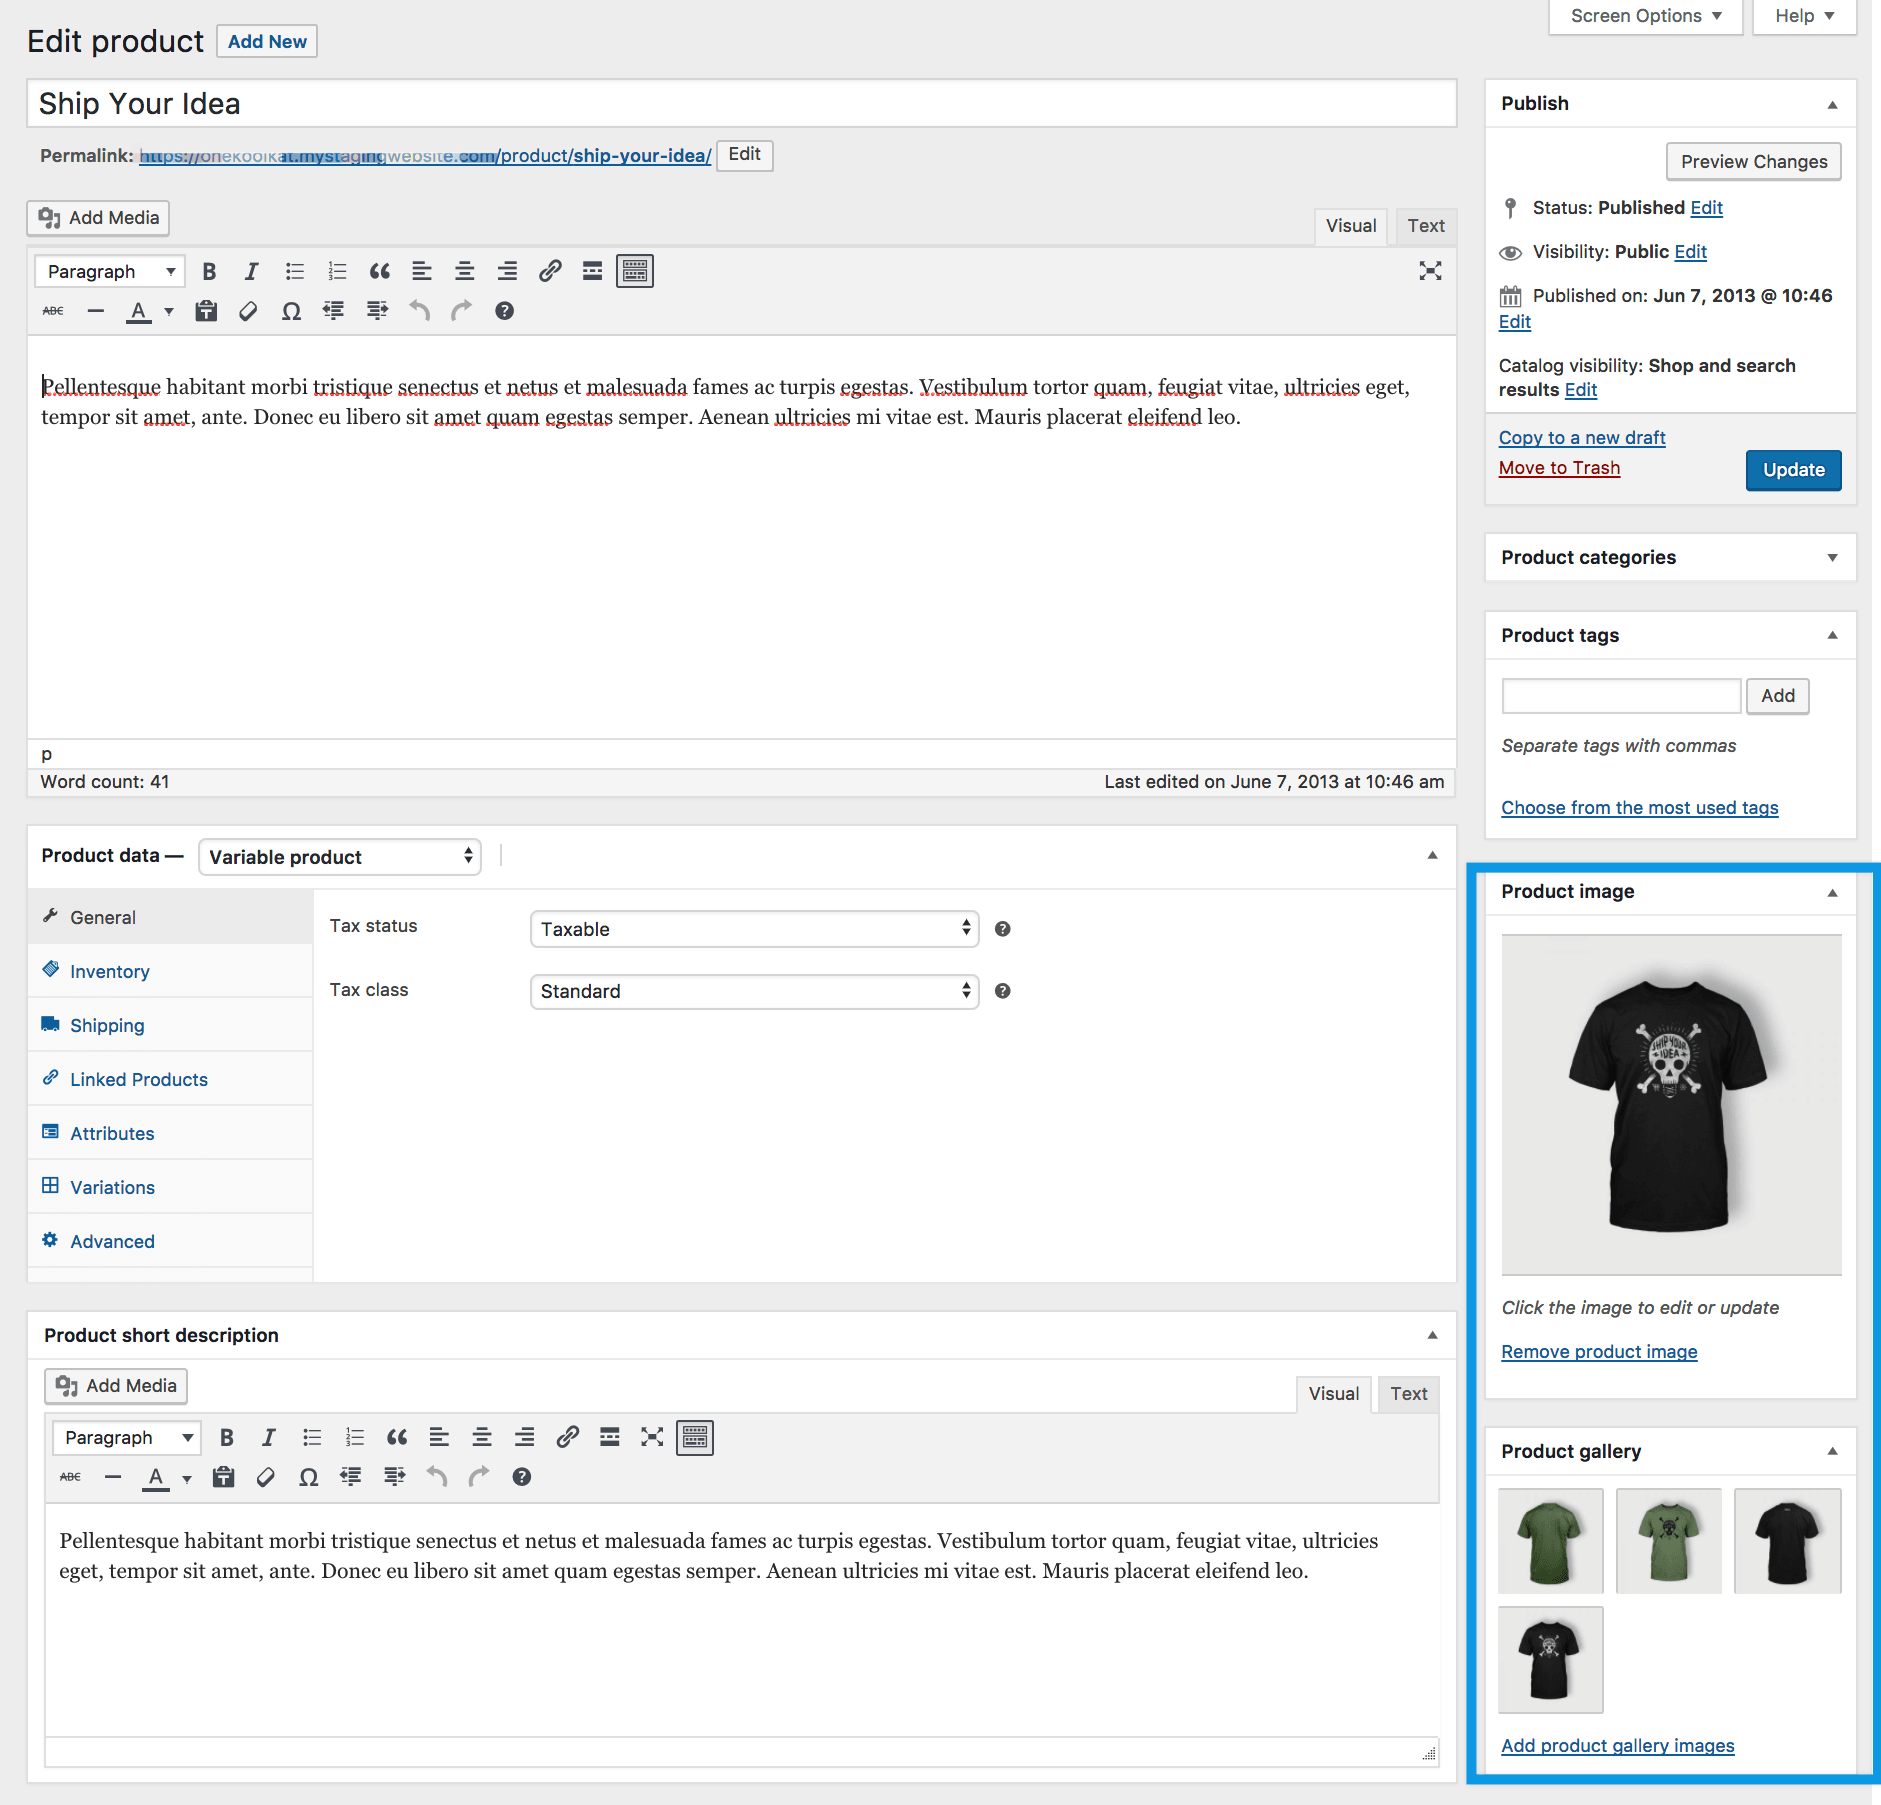
Product image
The Product Image is the main image for your product and is reused in different sizes across your store.
Select Set Product Image.
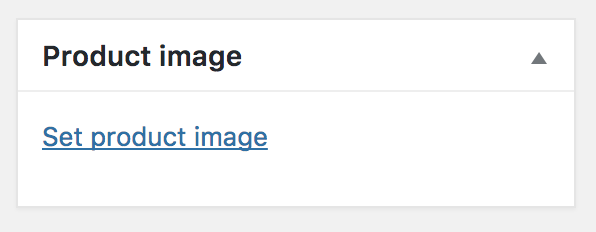
Select an existing image in your Media Library or Upload a new one.
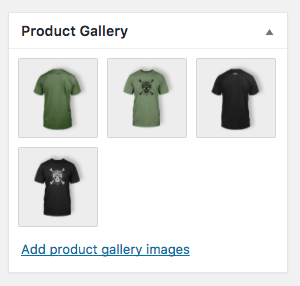
Product galleries
Add images to product gallery
Product galleries display all images attached to a product through the Product Gallery meta box.
Create a Product Gallery using the same method as adding a Product Image, but using the Product Gallery meta box.
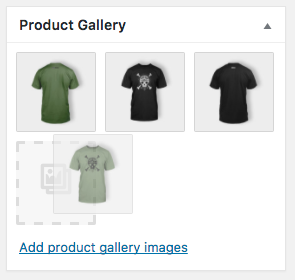
Reorder images in product gallery
Images in the product gallery can be re-ordered easily via drag and drop. Simply re-order your images by moving them around.
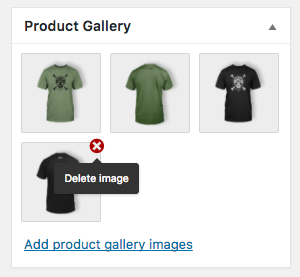
Remove images from product gallery
To remove an image from the product gallery, hover over the image and click on the red “x.”
Setting catalog visibility and feature status
In the Publish panel, you can set Catalog Visibility for your product.

- Shop and search – Visible everywhere, shop pages, category pages and search results.
- Shop only – Visible in shop pages and category pages, but not search results.
- Search only – Visible in search results, but not in the shop page or category pages.
- Hidden – Only visible on the single product page – not on any other pages.
